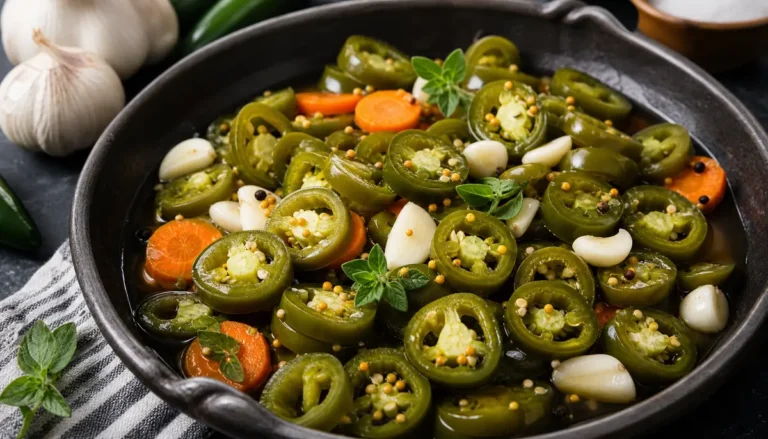

If you have ever craved that perfect, tangy crunch on your burger, you know that homemade Bread and Butter Pickles are the ultimate kitchen upgrade. Making your own jars of these sweet and savory treats is surprisingly simple and far more rewarding than buying them at the store. Let’s dive into this foolproof method so you can enjoy a crisp, golden jar of goodness by the end of the day!
Gathering Your Heavenly Ingredients
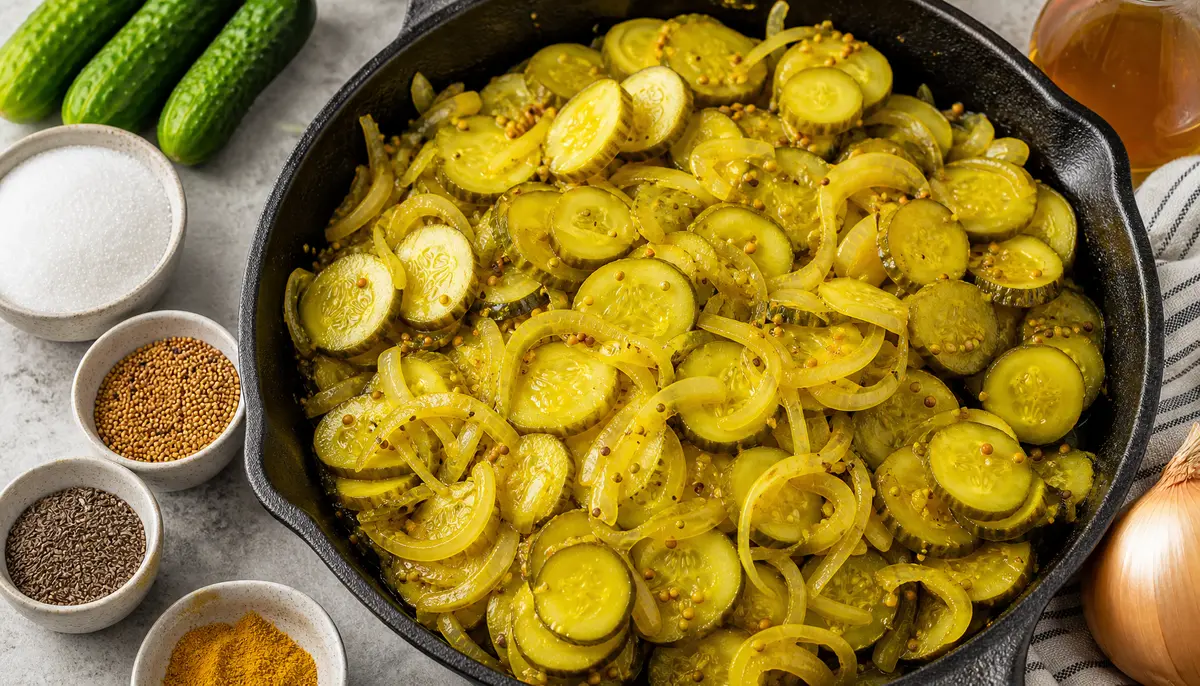
To get that signature flavor, you need fresh produce and a balanced brine. Quality matters here, so try to find the firmest cucumbers you can get your hands on.
The Main Components:
- 2 pounds Kirby or pickling cucumbers: Slice them thin for the best texture.
- 1 large yellow onion: Thinly sliced into half-moons.
- 2 tablespoons kosher salt: This helps pull excess moisture out of the veggies.
- 1 cup apple cider vinegar: Provides the perfect acidic backbone for your Bread and Butter Pickles.
- 1 cup granulated sugar: Adds that classic, mellow sweetness we all love.
- 1 tablespoon mustard seeds: For that essential, earthy aromatic.
- 1 teaspoon celery seeds: The secret ingredient for that professional deli-style taste.
- 1/2 teaspoon turmeric: Gives your Bread and Butter Pickles their beautiful, vibrant color.
Why These Pickles Belong in Your Pantry
There is something inherently comforting about having a jar of homemade preserves in the fridge. Once you master Bread and Butter Pickles, you will realize how easy it is to elevate even the simplest weeknight dinners. They are the perfect side dish for a CREAMY GARLIC PARMESAN CHICKEN BREAST – EASY MEALS FOR TWO CHICKEN: 20-MINUTE BEST RECIPE.
You can also use the brine or the pickles themselves to add a zesty kick to other meals. They pair surprisingly well with hearty dishes like CREAMY CHICKEN TACO SOUP 1-POT. Whenever you have a surplus of garden produce, this recipe is your best friend.
Tips for Perfect Texture and Safety
The key to a great pickle is maintaining the crunch. Never skip the salting step, as it draws out water so the brine can penetrate the vegetable properly.
Always keep your jars refrigerated once they cool down. According to the National Center for Home Food Preservation, maintaining proper hygiene and temperature control is vital when working with home-canned or quick-pickled goods. If you want to dive deeper into the history of these delicacies, you can read more at Wikipedia’s entry on Pickling.
Remember that Bread and Butter Pickles improve with time. Let them sit in the brine for at least 24 hours before you open the first jar. The flavors will meld together and become even more vibrant after a few days in the fridge.
Step-by-Step to a Slice of Paradise
Follow these simple steps to ensure your batch of Bread and Butter Pickles comes out perfect every single time.
Preparing Your Cucumbers:
- Wash your cucumbers thoroughly under cold running water.
- Slice the cucumbers and onions into uniform rounds to ensure even pickling.
- Place them in a large bowl and toss with the salt, letting them sit for one hour to release water.
Creating the Brine:
- Drain the excess liquid from the cucumbers and pat them dry with a clean kitchen towel.
- In a medium saucepan, combine the vinegar, sugar, mustard seeds, celery seeds, and turmeric.
- Bring the mixture to a gentle simmer over medium heat until the sugar has completely dissolved.
Combining and Storing:
- Pack the cucumber and onion slices tightly into clean glass jars.
- Pour the hot brine over the vegetables, ensuring they are completely submerged.
- Seal the jars and let them cool to room temperature before placing them in the refrigerator.
Serving Your Homemade Creations
Now that your Bread and Butter Pickles are ready, it is time to enjoy them! They are fantastic on burgers, tucked into sandwiches, or served alongside a CORN CHICKEN RICE BOWLS | HEALTHY MEAL PREP DINNER (HIGH PROTEIN) BEST 15-MINUTE MEAL for an extra pop of flavor.
Do not be afraid to experiment with your own additions to the brine. Sometimes a few garlic cloves or a pinch of red pepper flakes can change the profile of your Bread and Butter Pickles entirely. Trust your palate and have fun with the process!
I hope you find as much joy in making these as I do. Sharing homemade Bread and Butter Pickles with friends and family is a wonderful way to show you care. Happy pickling, my friend!
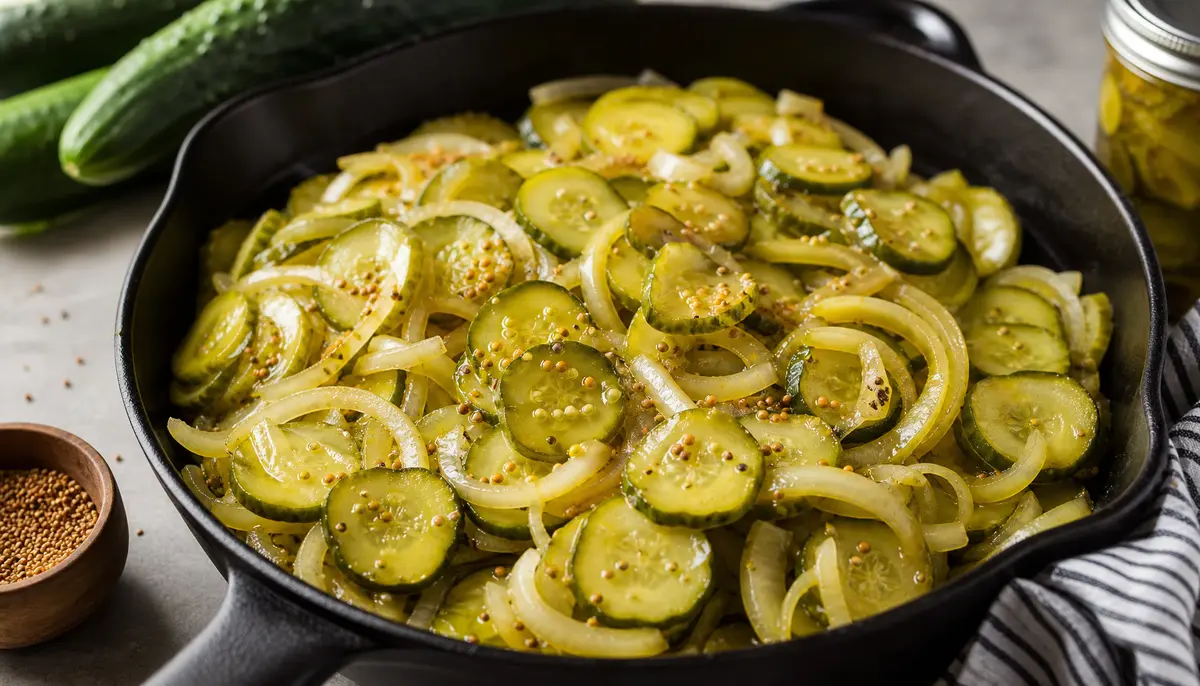
Easy 5-Minute Homemade Bread and Butter Pickles
Ingredients
Equipment
Method
- Wash the cucumbers thoroughly under cold running water.
- Slice the cucumbers and onions into uniform rounds and place them into a large mixing bowl.
- Toss the vegetables with the kosher salt, ensuring they are well coated. Let them sit for 60 minutes to draw out excess moisture.
- Drain the liquid from the bowl and pat the vegetables dry with a clean kitchen towel or paper towels.
- In a medium saucepan, combine the apple cider vinegar, sugar, mustard seeds, celery seeds, and turmeric.
- Bring the brine to a gentle simmer over medium heat, stirring occasionally, until the sugar is completely dissolved.
- Pack the dried cucumber and onion slices tightly into clean glass jars.
- Pour the hot brine over the vegetables, ensuring the slices are completely submerged, leaving a small amount of headspace at the top.
- Seal the jars and allow them to cool to room temperature before transferring them to the refrigerator.
- Let the pickles sit in the refrigerator for at least 24 hours before serving to allow the flavors to meld.