
There is nothing quite as satisfying as the crisp, tangy crunch of homemade Quick Refrigerator Dill Pickles waiting for you in the fridge. Forget the soggy, preservative-heavy jars from the grocery store aisle; you are about to master a process that takes mere minutes to prepare. With this simple method, you will have a batch of bright, snappy pickles ready to elevate your favorite sandwiches and burgers in no time.
Gathering Your Heavenly Ingredients
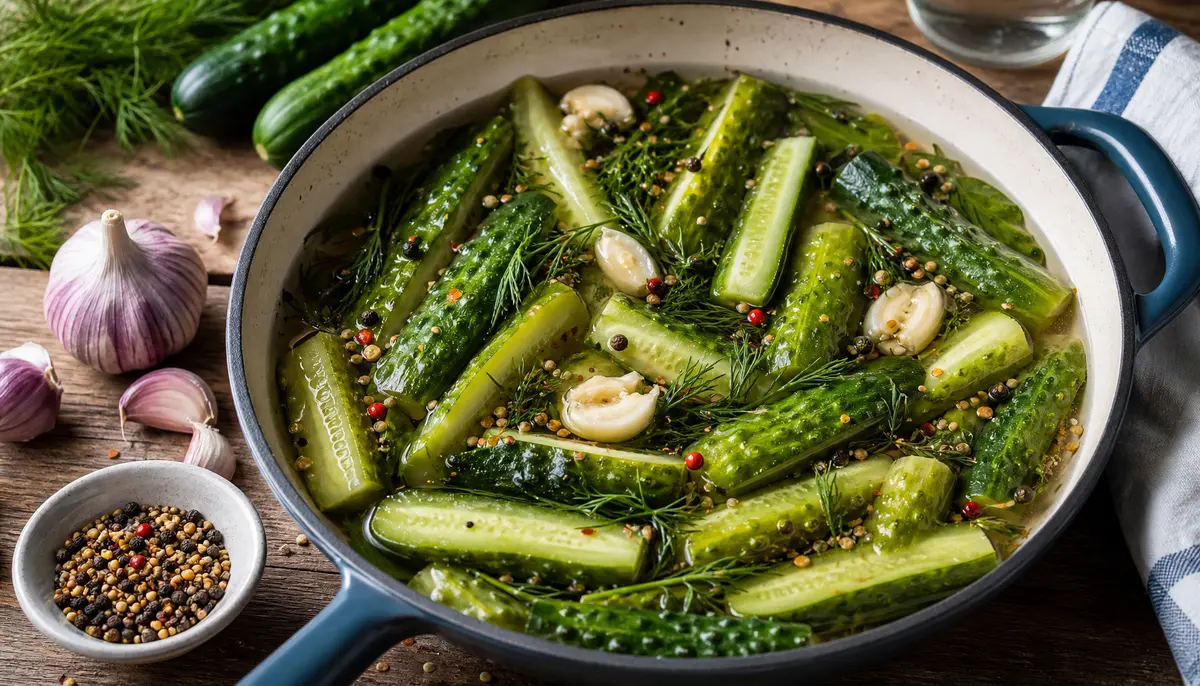
To achieve that signature crunch, ingredient quality is everything. You want your produce to be as fresh as possible, preferably picked right from the garden or sourced from a local market.
The Main Stars:
- Pickling Cucumbers: Look for Kirby or Persian varieties, as they have thinner skins and fewer seeds.
- Fresh Dill: Use fresh sprigs to ensure a vibrant, herbaceous aroma that defines these Quick Refrigerator Dill Pickles.
- Garlic Cloves: Smashed lightly to release their potent oils and flavor.
The Brine Components:
- Water: Use filtered water for the cleanest taste profile.
- Vinegar: Distilled white vinegar provides the classic sharp tang we all love.
- Kosher Salt: Essential for flavor, though you can check the National Center for Home Food Preservation for guidance on salt types if you are new to preservation.
- Pickling Spices: A blend of mustard seeds, peppercorns, and red pepper flakes adds that sophisticated complexity.
Why These Pickles Are a Total Game Changer
The beauty of making Quick Refrigerator Dill Pickles lies in their incredible convenience and speed. You do not need to deal with hot water bath canning or sterilization of jars, making this perfect for busy home cooks.
These pickles are naturally low in calories and serve as the perfect palate cleanser after enjoying a hearty meal like CREAMY CHICKEN TACO SOUP 1-POT. They add a bright acidity that cuts through rich flavors beautifully.
I love keeping a jar of these in the fridge to serve alongside CREAMY GARLIC PARMESAN CHICKEN BREAST – EASY MEALS FOR TWO CHICKEN: 20-MINUTE BEST RECIPE. It is truly the ultimate way to balance your dinner plate.
The Secret Science Behind the Crunch
You might wonder why we call these Quick Refrigerator Dill Pickles instead of traditional canned pickles. By skipping the heat-processing step, we preserve the structural integrity of the cucumber cell walls, ensuring a satisfying “snap” every single time.
According to culinary history resources, quick-pickling has been a staple in households for centuries as a way to enjoy seasonal produce year-round. It is a fantastic, low-stakes way to experiment with different flavor profiles like adding jalapeños or turmeric.
If you have leftover veggies, you can even apply this same brine to carrots or onions while you wait for your CORN CHICKEN RICE BOWLS | HEALTHY MEAL PREP DINNER (HIGH PROTEIN) BEST 15-MINUTE MEAL to cook. The versatility of these pickles is truly unmatched in the kitchen.
Step-by-Step to a Slice of Paradise
Making your own pickles is therapeutic, easy, and incredibly rewarding. Follow these steps to ensure your Quick Refrigerator Dill Pickles turn out perfectly crisp every time.
Preparing the Jars and Cucumbers:
- Thoroughly wash your cucumbers and slice them into spears or rounds, depending on your personal preference.
- Pack the cucumber slices tightly into clean glass jars, tucking in the fresh dill sprigs and smashed garlic cloves as you go.
- Sprinkle your pickling spices into the jar, ensuring they are evenly distributed among the vegetables.
Creating the Perfect Brine:
- In a small saucepan, combine your water, vinegar, and kosher salt over medium heat.
- Stir constantly until the salt has completely dissolved, ensuring the liquid is crystal clear.
- Pour the warm brine over the cucumbers in the jar until they are fully submerged, leaving about half an inch of headspace at the top.
Finalizing Your Pickles:
- Seal the jars tightly and let them cool on the counter to room temperature.
- Transfer your Quick Refrigerator Dill Pickles to the refrigerator immediately after they have cooled.
- For the best flavor development, resist the urge to eat them for at least 24 hours so the spices can fully infuse the cucumbers.
Pro Tips for Long-Lasting Freshness
To keep your Quick Refrigerator Dill Pickles as fresh as possible, always use a clean fork when reaching into the jar. Introducing bacteria into the brine can shorten the shelf life of your pickles significantly.
I find that these pickles taste even better after three to four days in the fridge. The acidity will continue to mellow, resulting in a perfectly balanced bite that is never too harsh or sour.
Always store these Quick Refrigerator Dill Pickles in the coldest part of your refrigerator, usually the back of the shelf. They will stay crunchy and delicious for up to three weeks, though they usually disappear in my house much faster than that!
Troubleshooting Common Pickle Woes
If your pickles seem a little soft, you might have left the cucumbers in the heat too long or used older produce. Always stick to the freshest, firmest cucumbers you can find to ensure your Quick Refrigerator Dill Pickles maintain their texture.
If the brine tastes too salty, simply dilute it with a splash of water next time. Remember that these Quick Refrigerator Dill Pickles are a flexible recipe, so feel free to adjust the ratios to suit your own taste buds.
Don’t be afraid to add a teaspoon of sugar if you prefer a bread-and-butter style crunch. Experimenting is part of the fun when you master this simple, staple recipe.
Final Thoughts on Your Homemade Journey
You now have the knowledge to create a snack that is far superior to anything you can buy in a store. Mastering Quick Refrigerator Dill Pickles is a culinary milestone that proves you don’t need fancy equipment to be a great cook.
Share a jar with a friend, or keep them all to yourself to upgrade your lunch routine. Once you start making your own Quick Refrigerator Dill Pickles, you will never go back to the store-bought versions again.
Enjoy the process, embrace the crunch, and happy pickling! Your Quick Refrigerator Dill Pickles are destined to become a household favorite that you will find yourself making again and again.
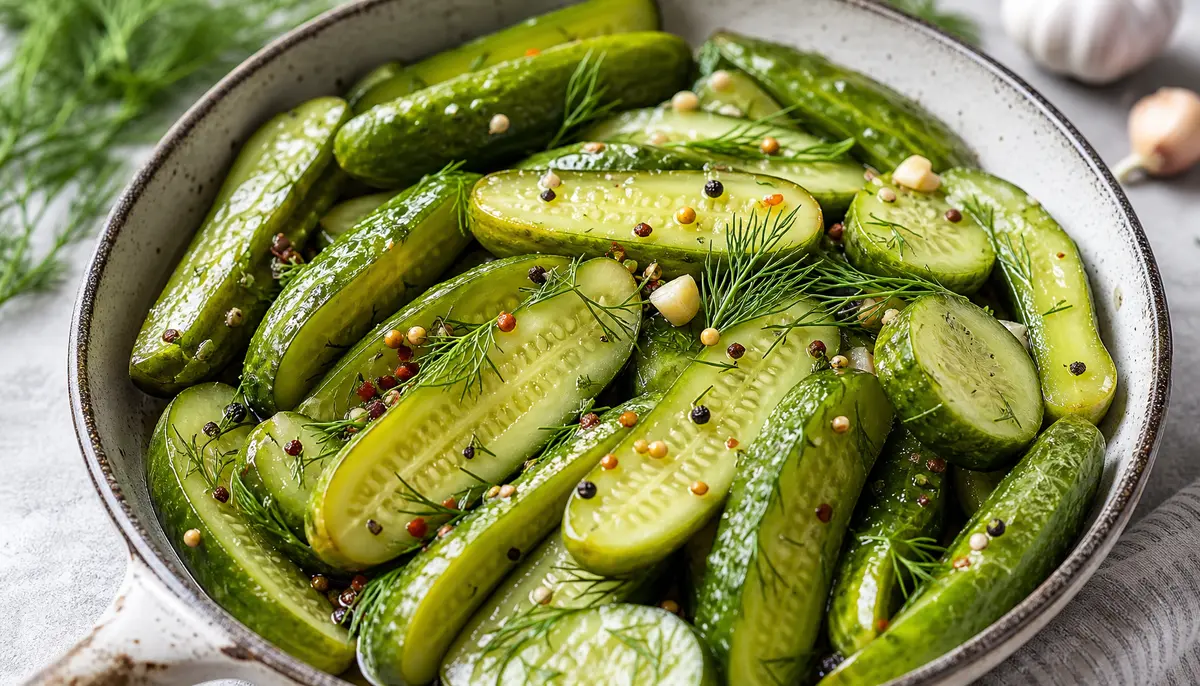
QUICK REFRIGERATOR DILL PICKLES 5-MINUTE PERFECT
Ingredients
Equipment
Method
- Thoroughly wash the cucumbers and trim the ends to ensure crispness; slice them into your preferred shape (spears or rounds).
- Pack the cucumber slices tightly into a clean 1-quart glass jar, tucking the fresh dill sprigs and smashed garlic cloves between the layers.
- Sprinkle the pickling spice blend into the jar to ensure even distribution.
- In a small saucepan over medium heat, combine the water, vinegar, and kosher salt. Stir continuously until the salt is completely dissolved and the brine is clear.
- Pour the warm brine over the cucumbers in the jar, leaving approximately half an inch of headspace at the top.
- Seal the jar tightly with its lid and allow it to cool to room temperature on your countertop.
- Once cooled, transfer the jar to the refrigerator. For the best flavor development, wait at least 24 hours before serving.